
Starting a blog is a great idea where you can express your thoughts, feelings and innovations. You can make fans, followers and can express express your emotions, feelings as well.
Blogger.com is google's own free blogging platform where you can create your own blog with blogspot.com subdomain or you can purchase a domain to have your own website.
You can monetize your blog with Google adsense or Amazon affiliate program. There are still several other options through which you can monetize your blog like media.net, infolinks and many more.
If you are new to blogging then this articles helps you to create your own free blog step by step.
Step 1 - Creating an account
Go to blogger.com

Click on Sign in and if you have google account, you can proceed with that or else create a new google account.
Step 2 - Confirm your profile
After you logged in, it will ask to proceed with your Google+ profile or you can create a limited blogger profile and click on Continue.
Step 3 - Click on Create a new blog
Now you can choose any title for your blog and type the address or URL for your blog. If it is not available, you can do variations and can choose accordingly.

Step 4 - Select the Template or Theme from the list.
This is the starter template that you can change later also.

And Click on Create blog!
Step 5 - Click on Theme

Step 6 - Customize or Edit HTML Tags
Click on Customize or Edit HTML tag to customize your blog or if you are advanced user, you can click on edit HTML
Step 7 - Click on Settings
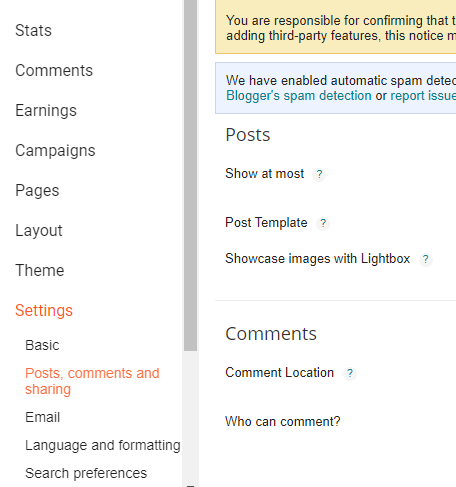
From Settings tab you can edit description, search preferences, Language preferences, comments, sharing and basic profile.
Now will see how we can write posts, save and publish the posts for audience
Step 8 - Click on New Post

Step 9 - Select any title of the post and Compose your post
Type your post in the text editor.
Step 10 - Select on Post Settings and can check the default settings

Step 11 - Preview your post before publishing

If you want to make any changes you can do it or else you can make changes after post is published.
Step 12 - Click on Publish
and finally your post will be published and live for audience.

Please type in the comment section for any queries or questions.


No comments:
Post a Comment